

This tutorial is a simple way of integrating a menu to your android app. The android menu triggers when you press the hardware menu button on the device. Follow the tutorial below if you need any help just make a comment.
1. Firstly, we need to jump to main.xml which is located under res/menu/main.xml
Open the main.xml and paste in XML the below code:
<?xml version="1.0" encoding="utf-8"?>

<menu xmlns:android="http://schemas.android.com/apk/res/android">

<item

android:id="@+id/menu_exit"

android:icon="@drawable/ic_menu_exit"

android:title="Exit" />

</menu>
2. Now you have to open the activity class that you want to include the menu in.
Add the following imports at the top of the class:
import android.view.Menu;

import android.view.MenuInflater;

import android.view MenuItem;
3. Add the following two methods.
If you create a default android project through eclipse you will see a method in your activity called onCreateoptionsMenu. If you don’t havbe just copy and paste it from below:
@Override

public boolean onCreateOptionsMenu(Menu menu) {

MenuInflater inflater = getMenuInflater();

inflater.inflate(R.menu.example, menu);

return true;

}
The second method handles that the menu item selection. Here I use a case statement to react in response to the ID of the tapped menu item:
@Override

public boolean onOptionsItemSelected(MenuItem item) {

switch (item.getItemId()) {

case R.id.menu_exit:

// Exit functionality goes here

MainActivity.this.finish();

return true;

default:

return super.onOptionsItemSelected(item);

}

}
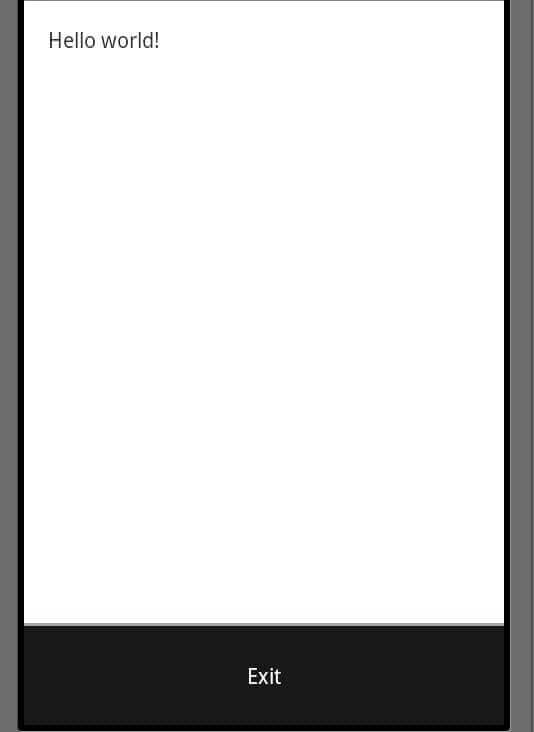
Now run your app and hit the menu button and you will see the menu with exit button…
If you press exit the application will close!!